PMMA/ZEP Cold Development

Developing your resist below room temperature is a reliable, relatively easy way to improve the resolution of processes based on PMMA and ZEP520 resists. All other things equal, cold development has been shown to approximately halve the minimum achievable feature size vs. the same process developed at room temperature.

We use a thermoelectric chiller (located in PAN bay 5, in the development hood) to cool developer down to subzero temperatures; this document will walk you through the basics of the process, and assumes you're familiar with standard resist development.


General Notes – READ BEFORE STARTING!

There are two steps to the cold development process that are important enough to warrant reiterating; ignoring them will give you inconsistent results at best and no results at worst:


Obligatory Disclaimer

Process outlines are just that; they are not guaranteed to work perfectly for your specific application and aren’t intended to provide anything more than a useful starting point for engineering your own process. The authors and the MNC in general make no guarantee of anything useful happening if you blindly follow these steps.


Procedure

  1. Check the toolbox labeled “cold development” in the right-hand drawer under the hood and ensure that all of the following items are present; if any are missing contact Bryan immediately:

kit_contents.jpg
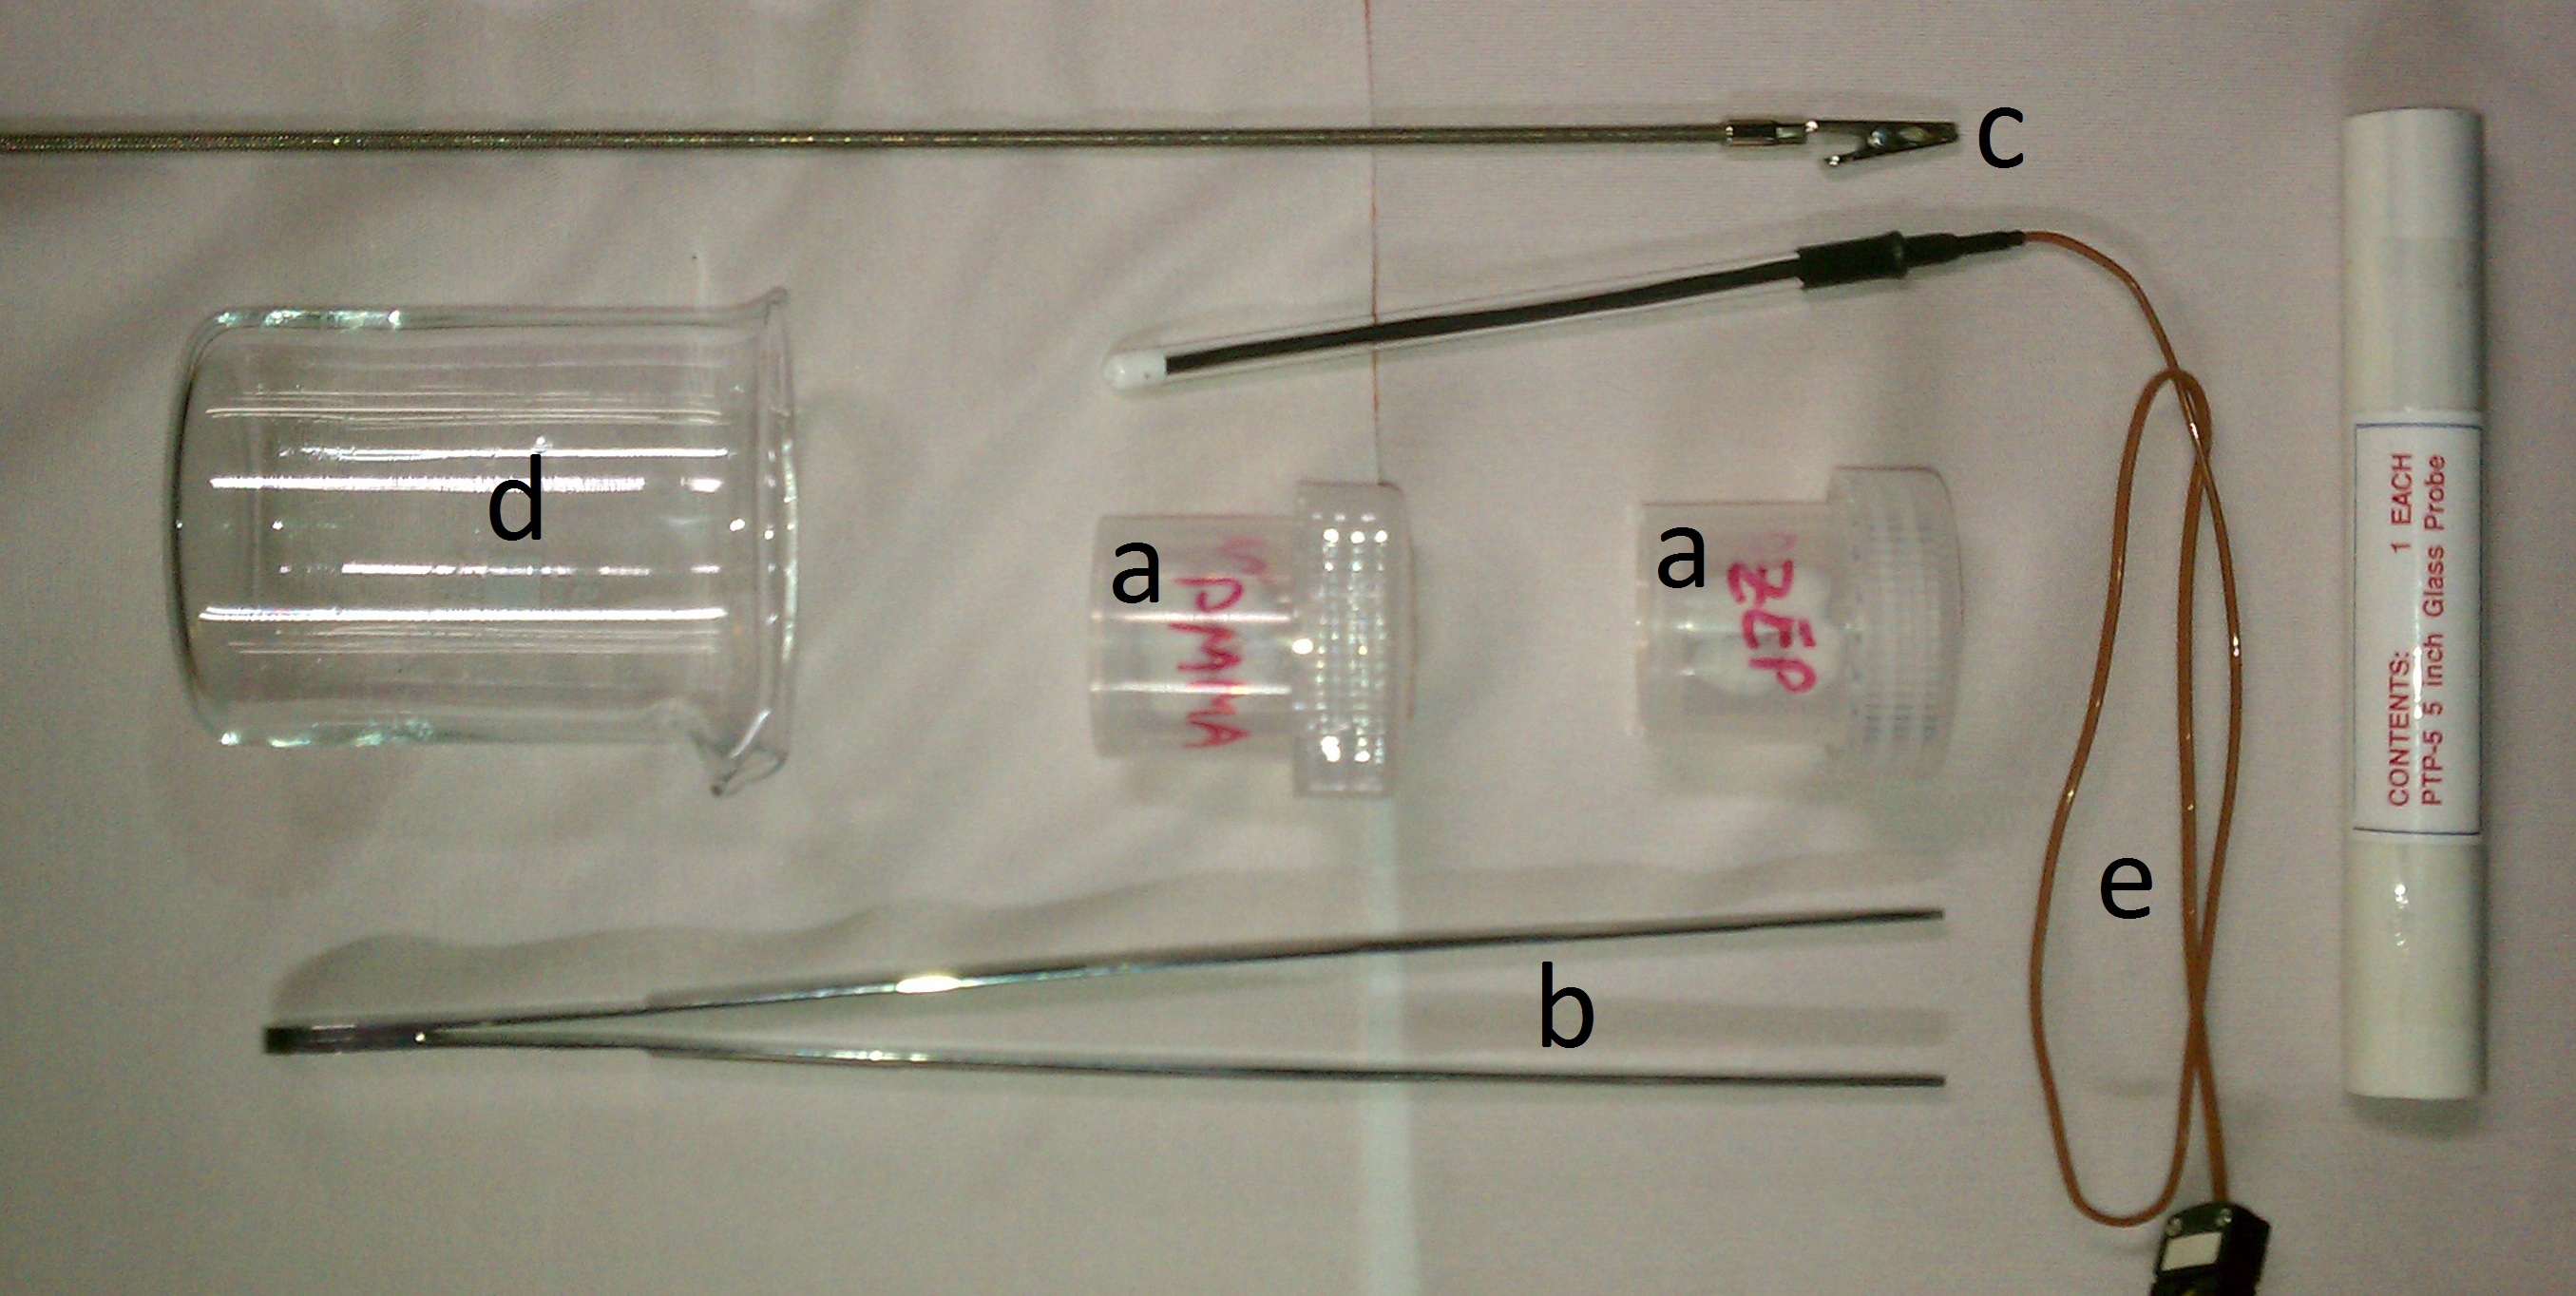
    1. Stirrer beads (dedicated to PMMA and ZEP)
    2. Large tweezers
    3. Dipstick with alligator clip
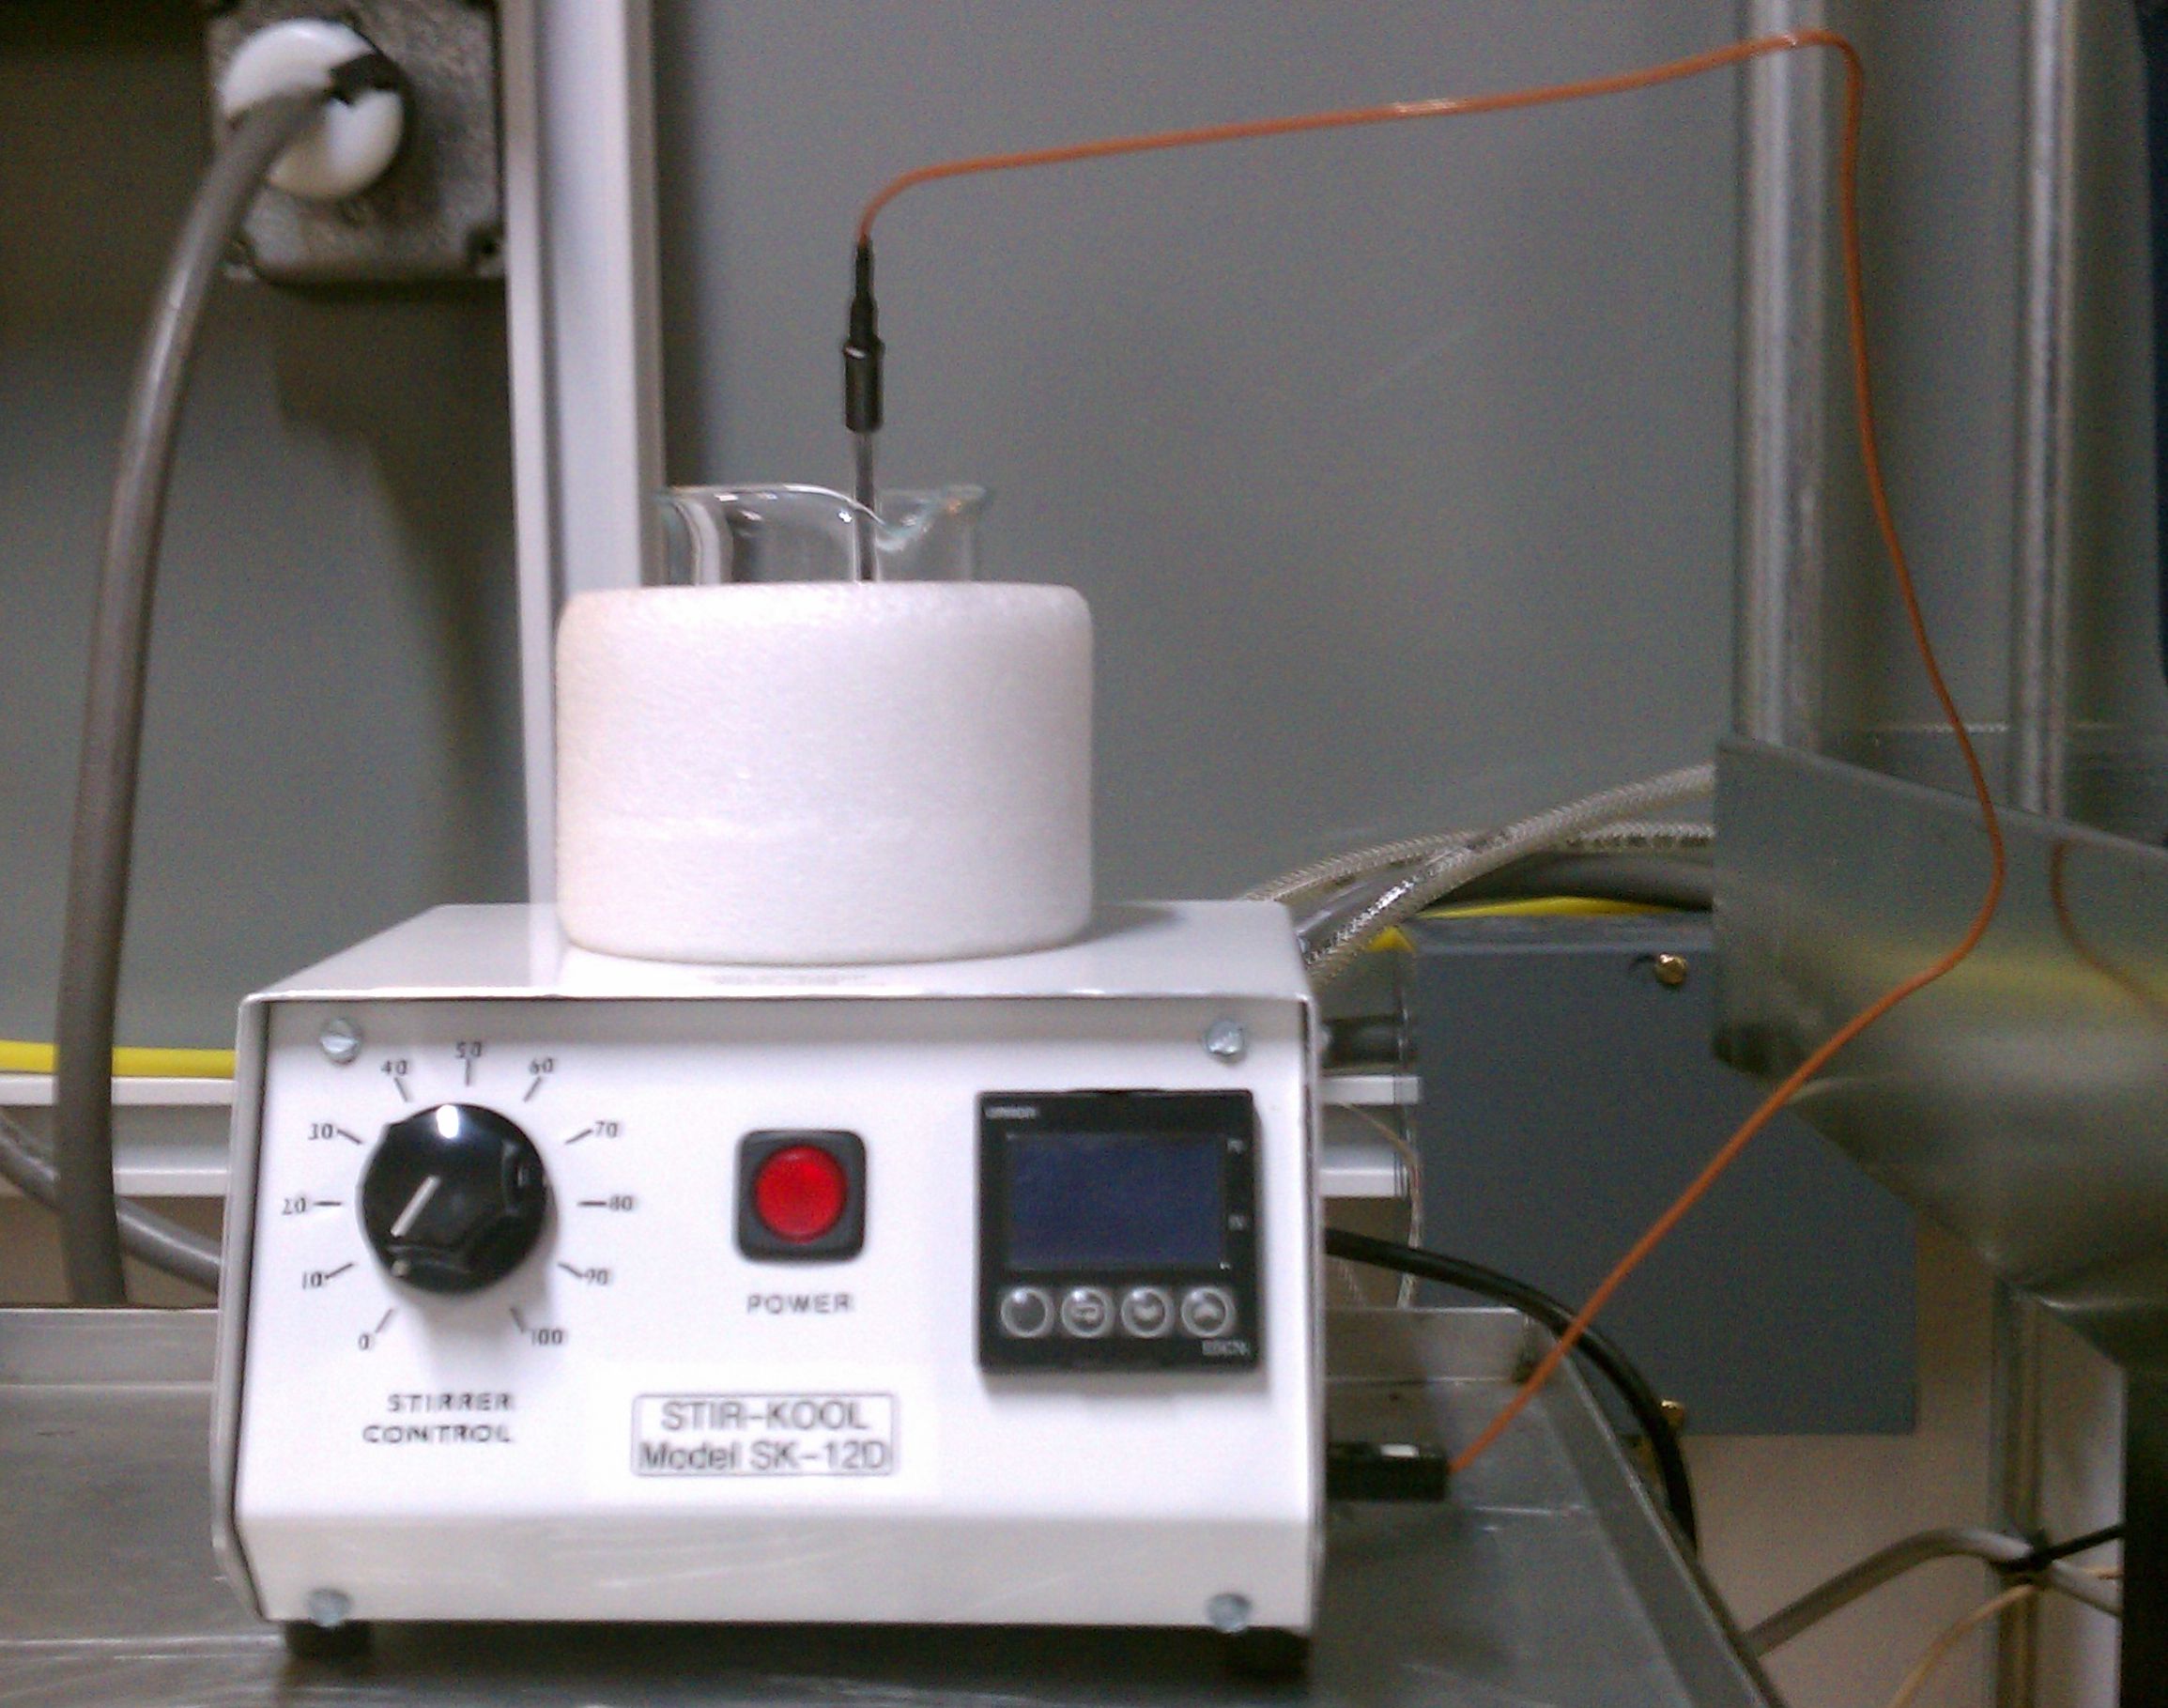
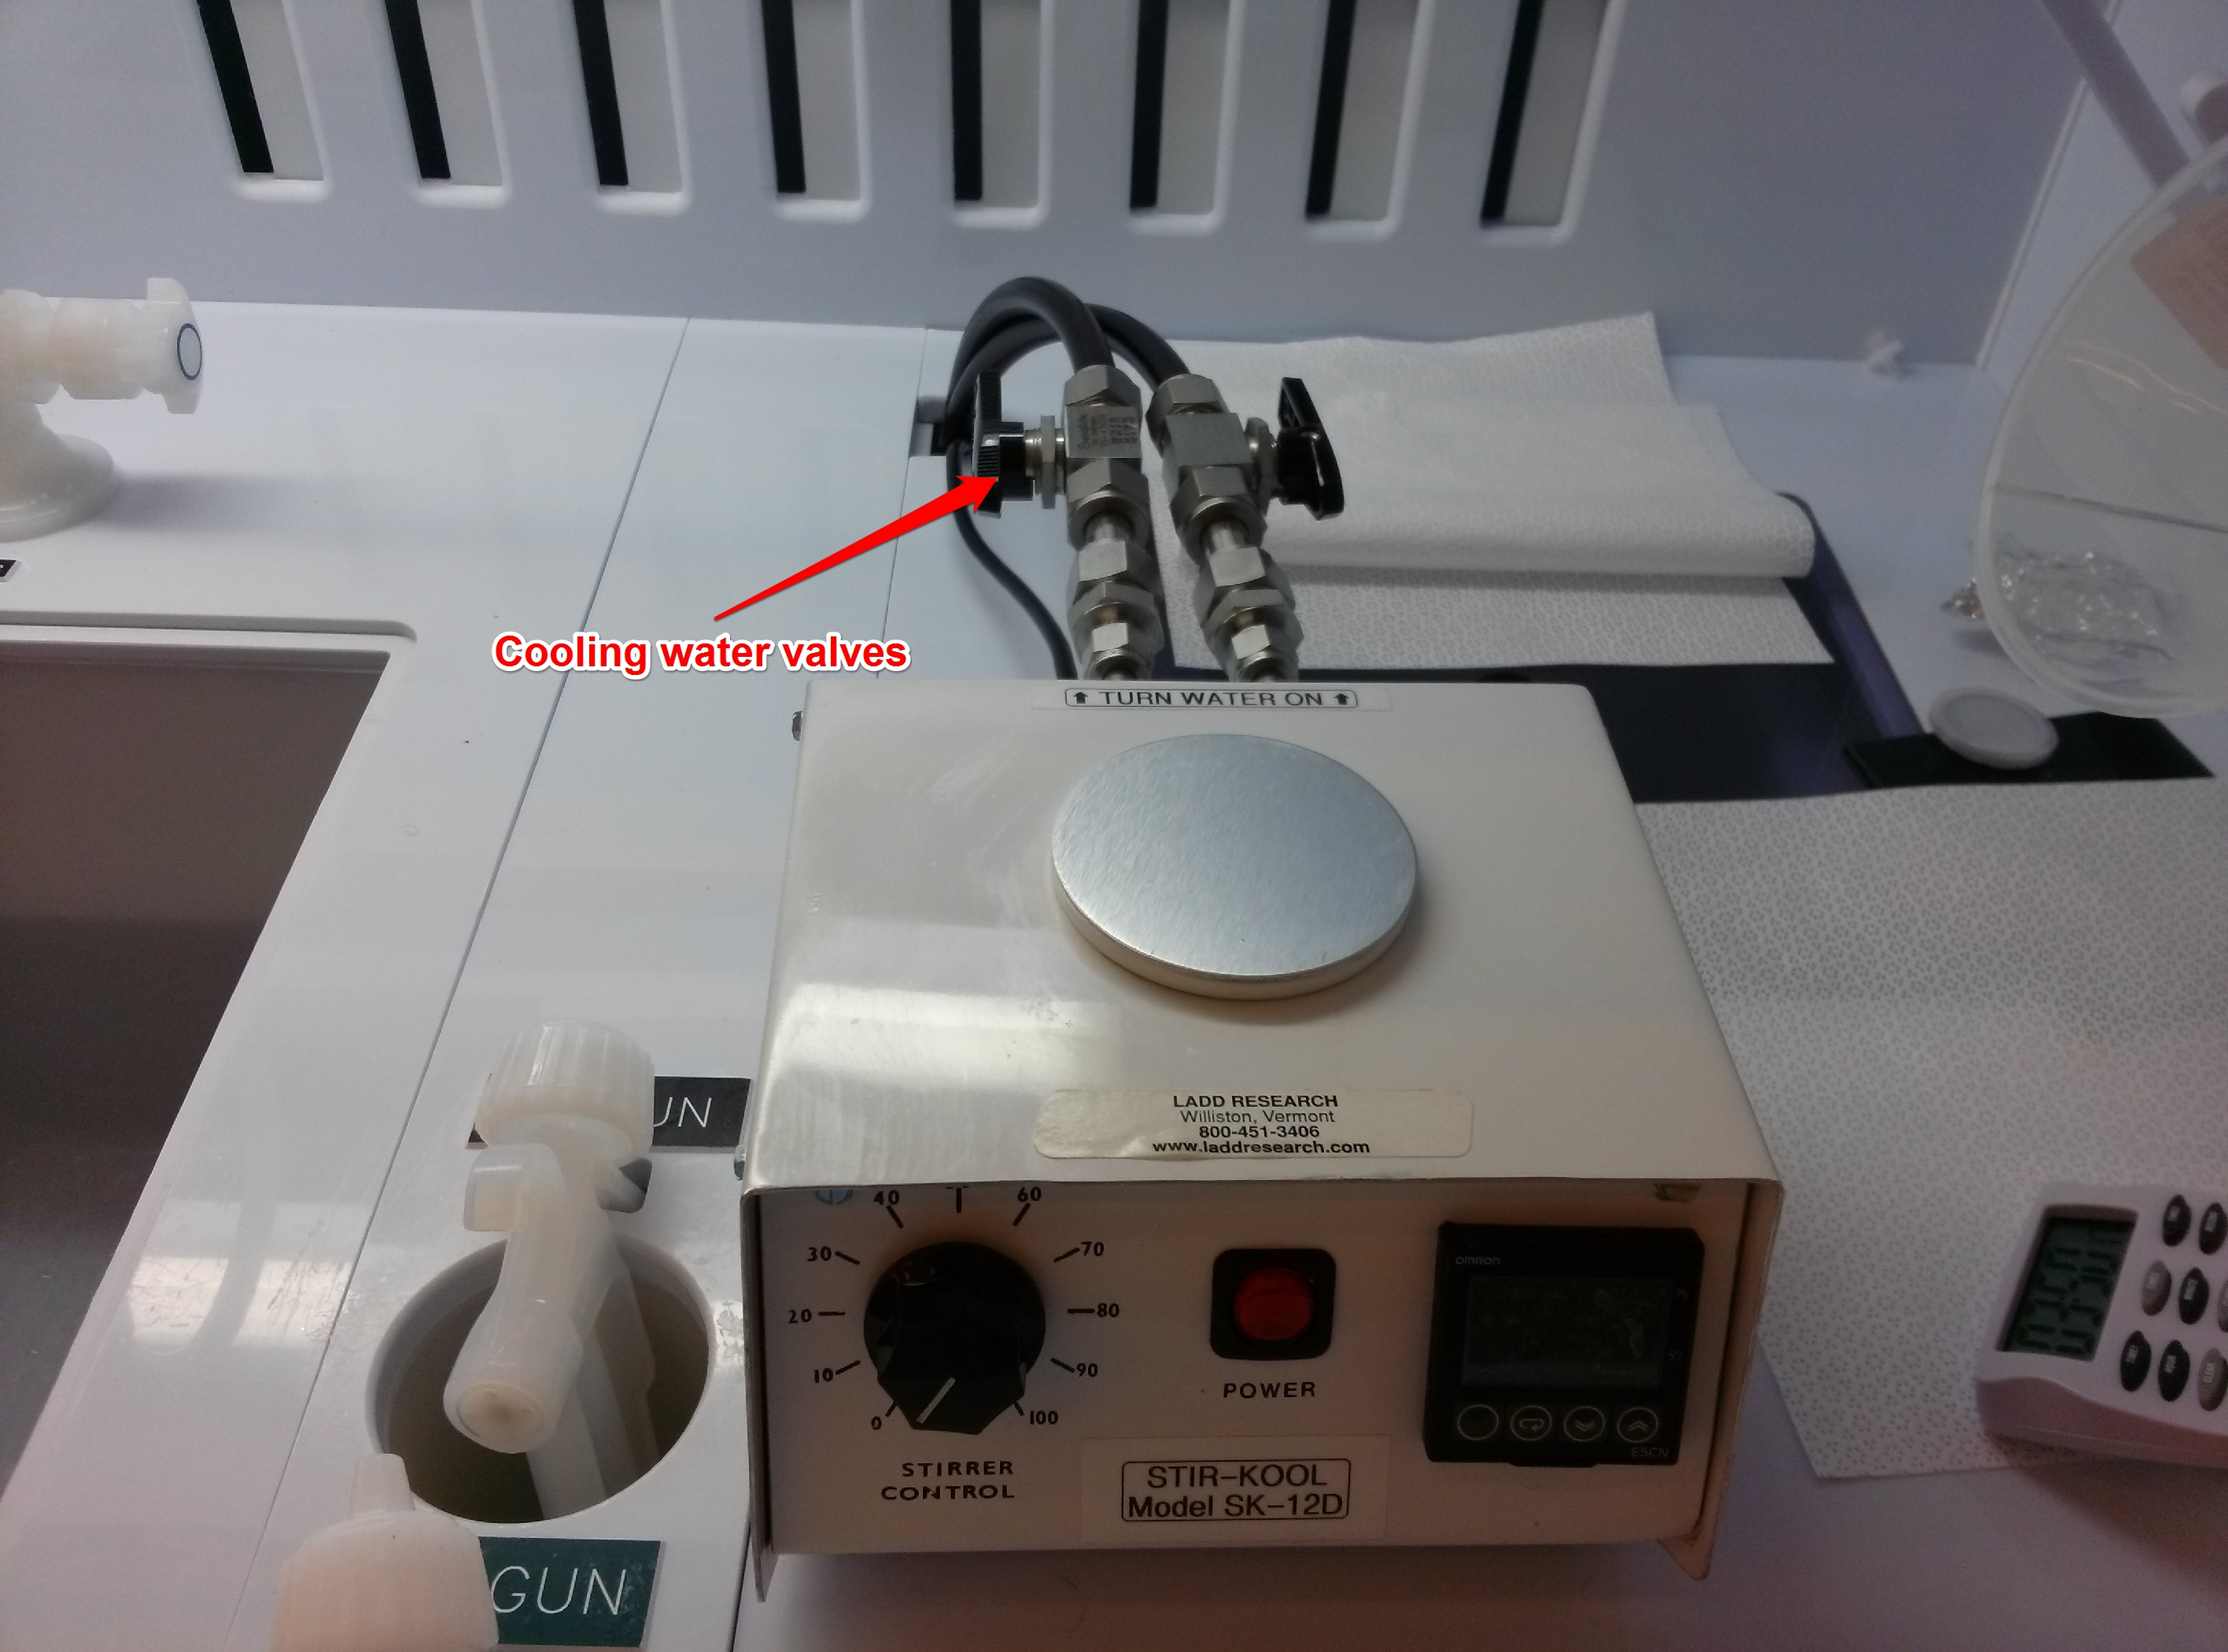
    4. Aluminum-bottom glass beaker
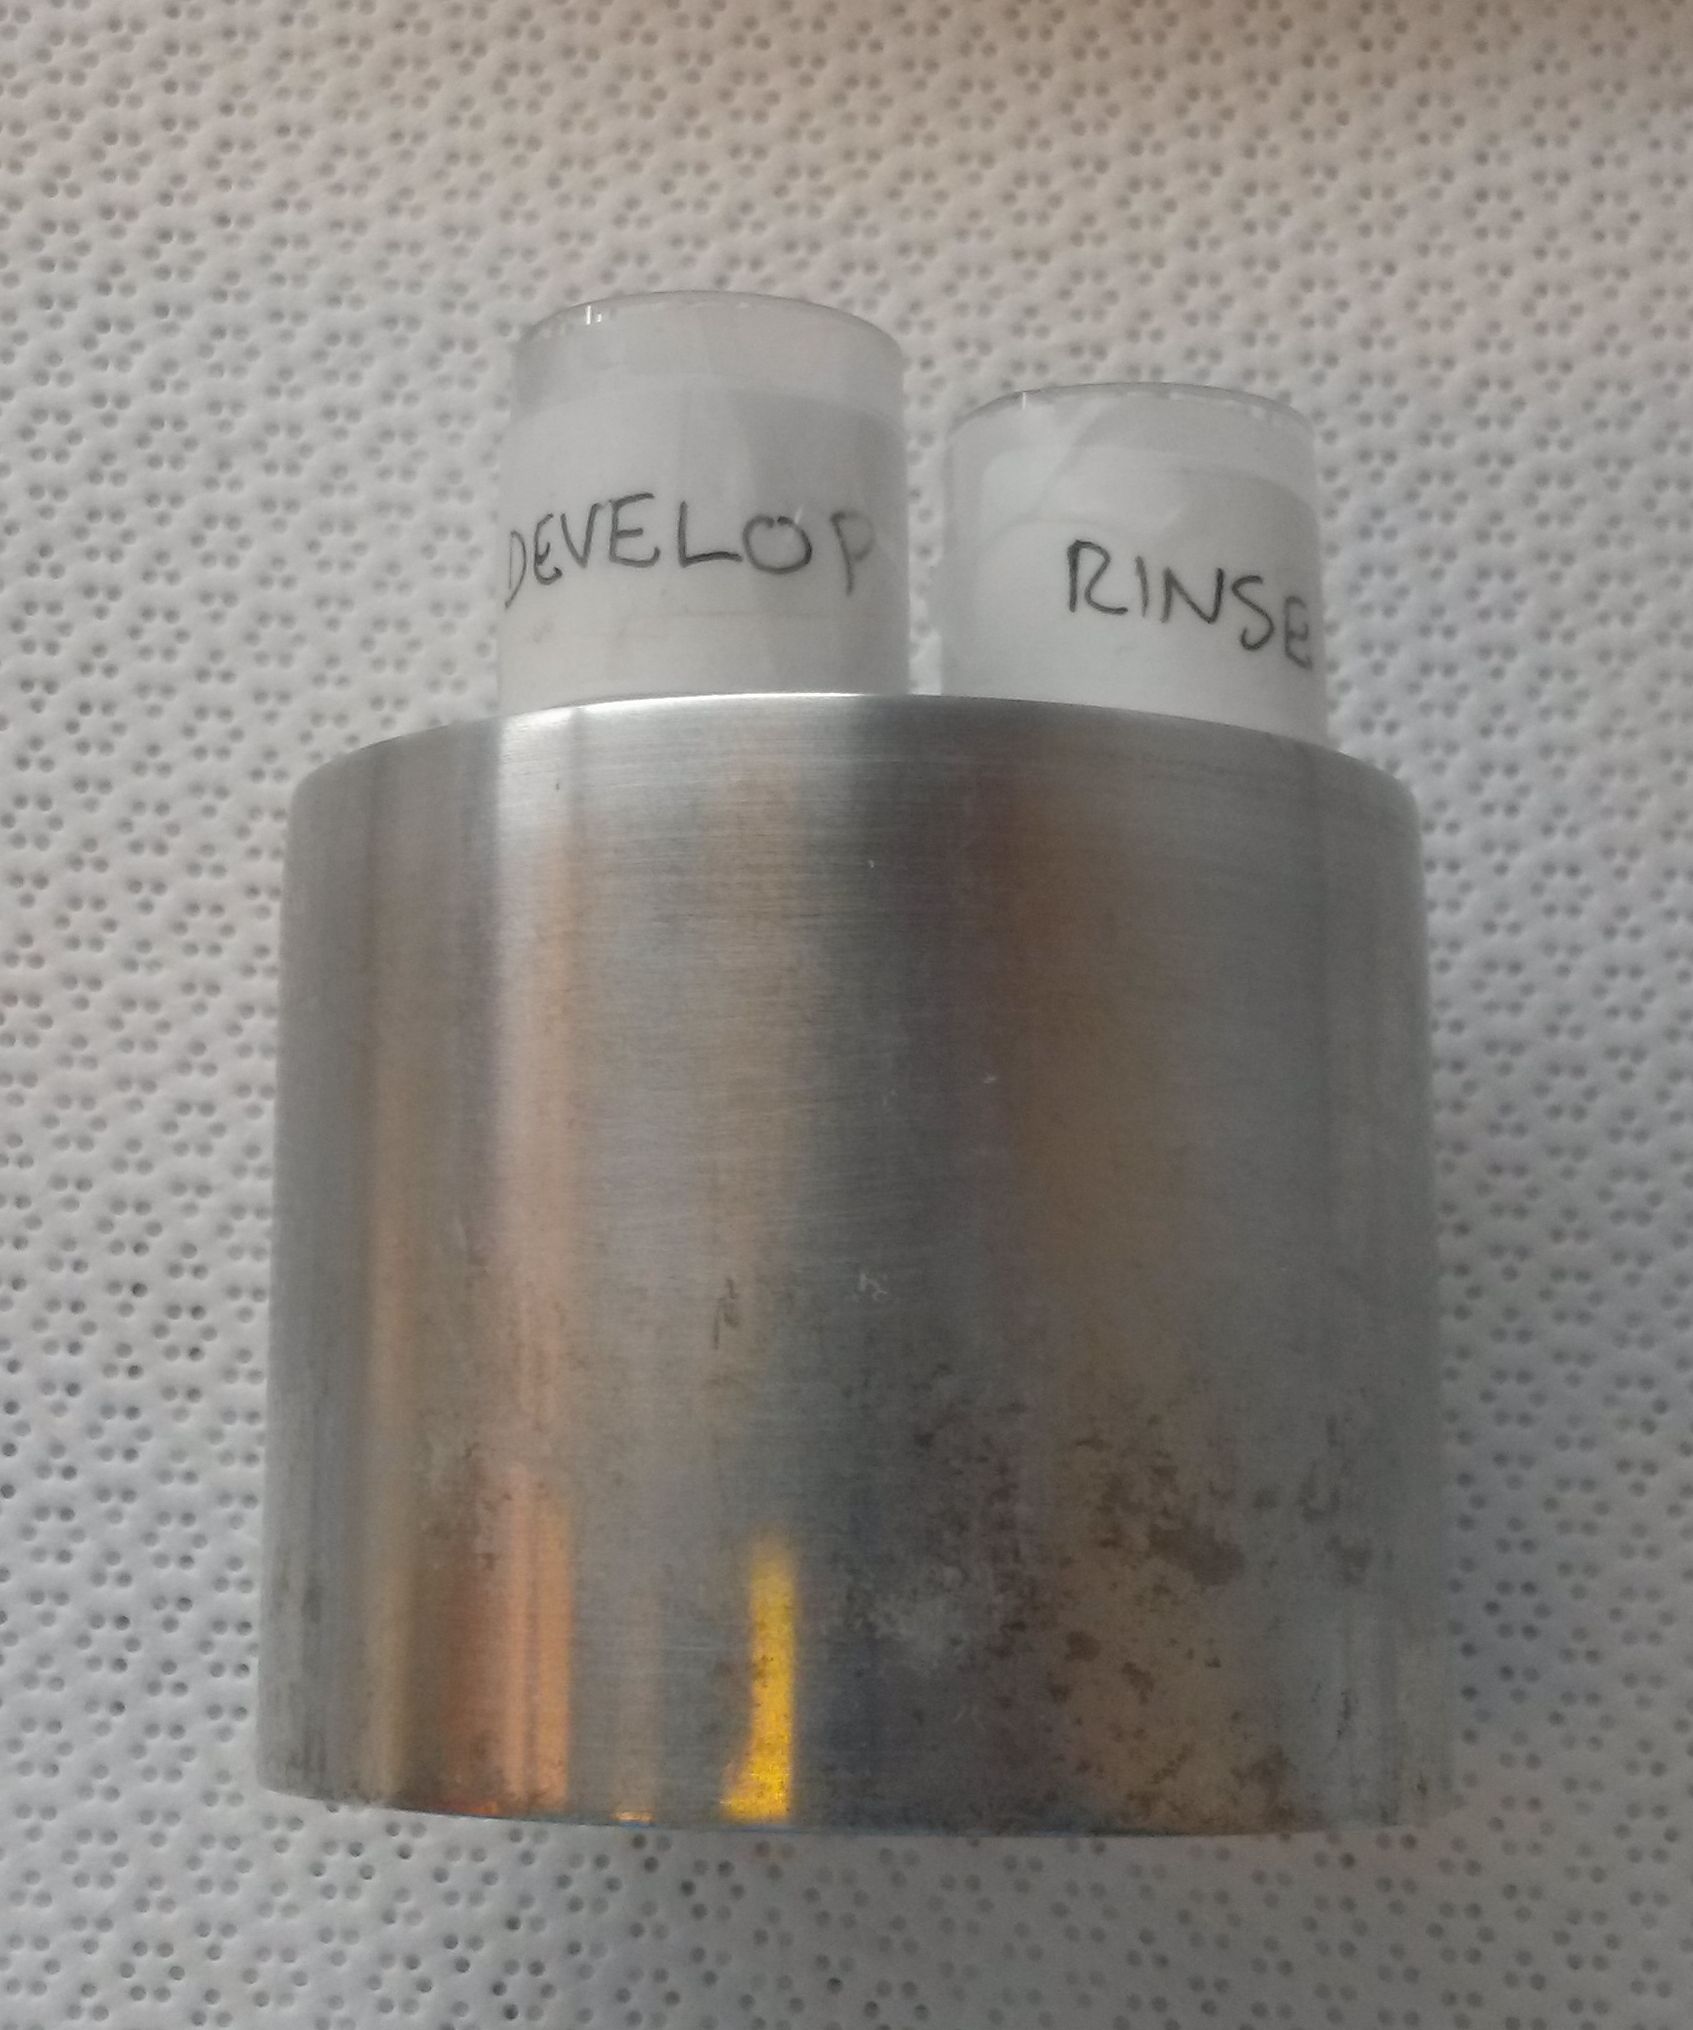
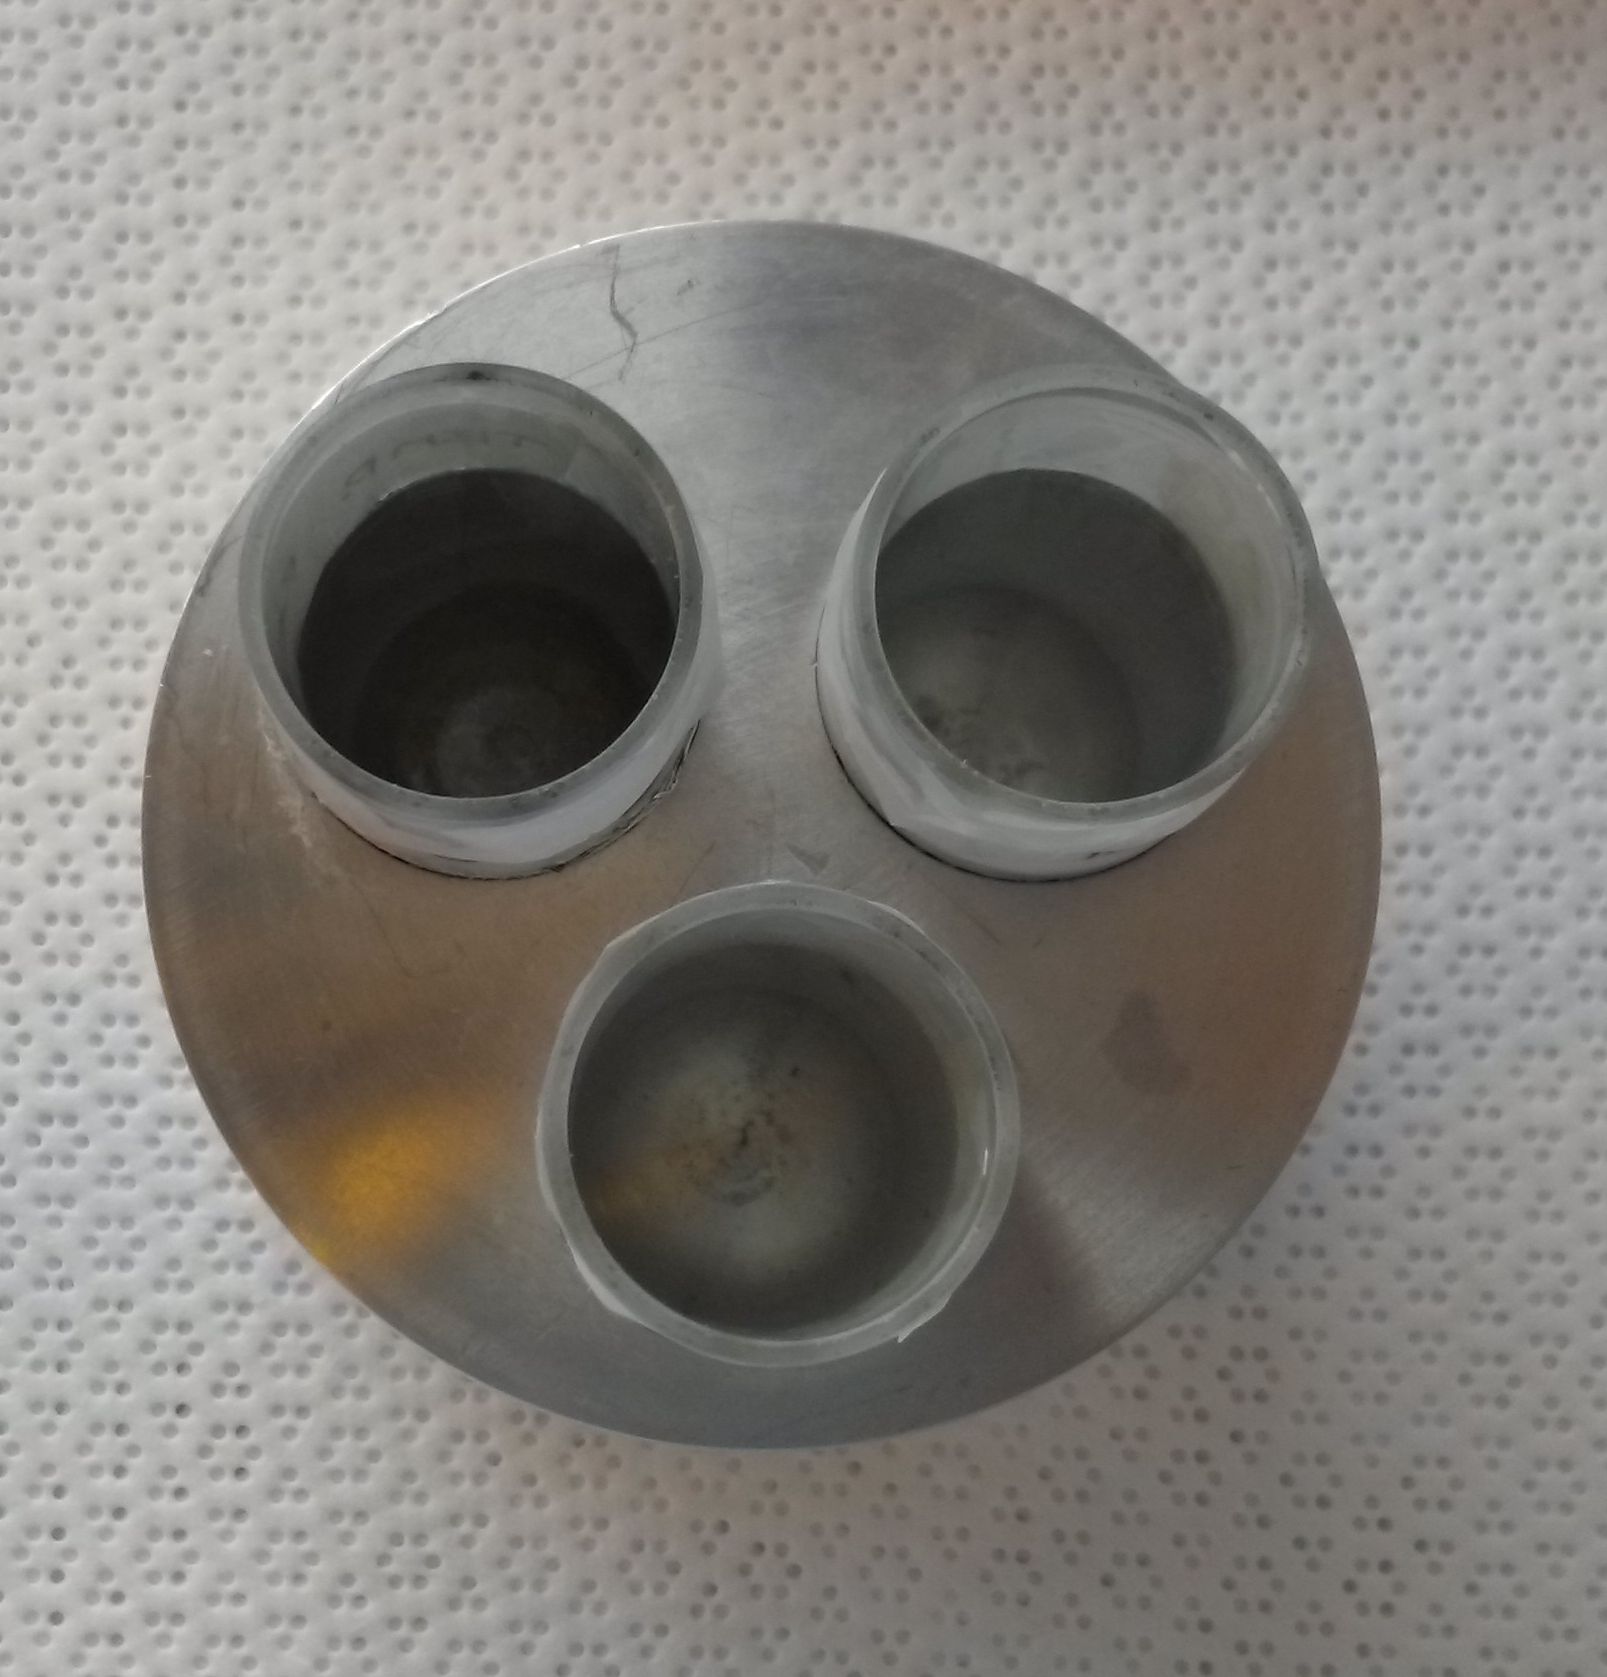
    5. Aluminum test tube block with three test tubes (not pictured)
    6. Thermocouple probe in plastic tube container

  1. Thoroughly solvent-clean the container you'll be using (beaker or test tubes) using the acetone, methanol, and isopropanol.

  2. If you're using the beaker, use the tweezers to remove a stirrer bead from the appropriate jar and, after rinsing it with the isopropanol squirt bottle, place it in the glass beaker. Do not touch the beads with your hands, even when wearing gloves (sometimes it can't be avoided, just clean them well if it happens).

  3. Fill the your clean container half-full of the developer of your choice (for any numbers given in this guide, 3:1 IPA:MIBK will be assumed to be the developer and PMMA the resist). If you're using the test tubes, you can also fill one of the others up with your rinsing chemical and one with isopropanol (for temperature reference, see below)

    Test_Tube_Mount_-_Side.jpg Test_Tube_Mount_-_Top.jpg

  4. Place the container inside its appropriate foam sleeve on top of the chiller plate

  5. Wipe the glass section of the thermocouple down with an IPA-soaked wipe and place it in the beaker (or the temperature reference test tube, which you've filled with IPA). Plug the probe into the right side of the chiller plate unit as shown below

    chiller_plate_with_beaker_and_probe.jpg Using_Test_Tube_Mount.jpg

  6. If the chilled water valves behind the plate are closed, make sure you open them! Handles pointing along the tube mean open.

    Valve_Locations.jpg

  7. Turn on the chiller plate using the red power switch on the front panel

  8. Turn the magnetic stirrer up to 80-100% speed using the stirrer control knob on the front panel

  9. Use the up and down arrows below the digital display to input the temperature setpoint. The large red digits are the current liquid temperature; the small green digits are the setpoint.

  10. Allow the system some time to come to temperature. Depending on the setpoint, this can take as long as 30 minutes. Although the setpoint can be programmed lower, the system’s practical lower temperature limit is approximately -20°C.

  11. Rinse the dipstick alligator clip with the IPA squirt bottle, dry it with the nitrogen gun, and clamp your sample into it.

  12. Before starting development, make sure the nitrogen gun is nearby and has pressure

  13. Place your sample into the developer (avoiding the stirrer bead if applicable) and develop for the desired time

  14. If your process calls for a rinse step, transfer your sample to the "rinse" test tube as quickly as possible after development is finished. Developing 3:1 IPA:MIBK with this process generally doesn't require a rinse, so you can skip it in that case.

  1. When development and rinsing is complete, remove the sample from the solution. Immediately blow-dry the excess developer off the surface with the nitrogen gun, then keep the gun on and pointed at the sample for at least 60 seconds . Exposure to water vapor before the sample has reached room temperature will generally destroy the resist.

  2. Turn off the chiller and close the chilled-water valves (supply first, then return). Dispose of the developer, solvent-clean the beaker or test tubes, and rinse the dipstick, tweezers, and temperature probe with the IPA squirt bottle

  3. Place the stirrer back in its jar, the thermocouple back in its tube, and all cold-develop materials back in the toolbox. Clean up any mess you’ve made


Process Notes


► Attachments

▼ Attachments

Topic attachments
I Attachment Action Size Date Who Comment
jpgjpg Test_Tube_Mount_-_Side.jpg manage 255.1 K 12 May 2015 - 13:52 BryanCord  
jpgjpg Test_Tube_Mount_-_Top.jpg manage 188.5 K 12 May 2015 - 13:53 BryanCord  
jpgjpg Using_Test_Tube_Mount.jpg manage 323.7 K 12 May 2015 - 13:53 BryanCord  
jpgjpg Valve_Locations.jpg manage 2666.4 K 12 May 2015 - 13:53 BryanCord